Setting Up AWS IAM Identity Center (SSO) and AWS Organizations
Setting up AWS IAM Identity Center allows you to maintain a secure environment by controlling access, ensuring that only authorized individuals can access specific resources.
Series: AWS IAM Identity Center
- What is AWS IAM Identity Center (SSO)?
- Setting Up AWS IAM Identity Center (SSO) and AWS Organizations
Getting started with AWS IAM Identity Center consists of the following steps:
- Enable IAM Identity Center
- Choose an Identity Source
- Create Users
- Create an Admin Permission Set
- Set Up Account Access for the Admin Identity Center User
- Testing everything!
Enable IAM Identity Center
To get started, search for AWS IAM Identity Center and click on Enable:
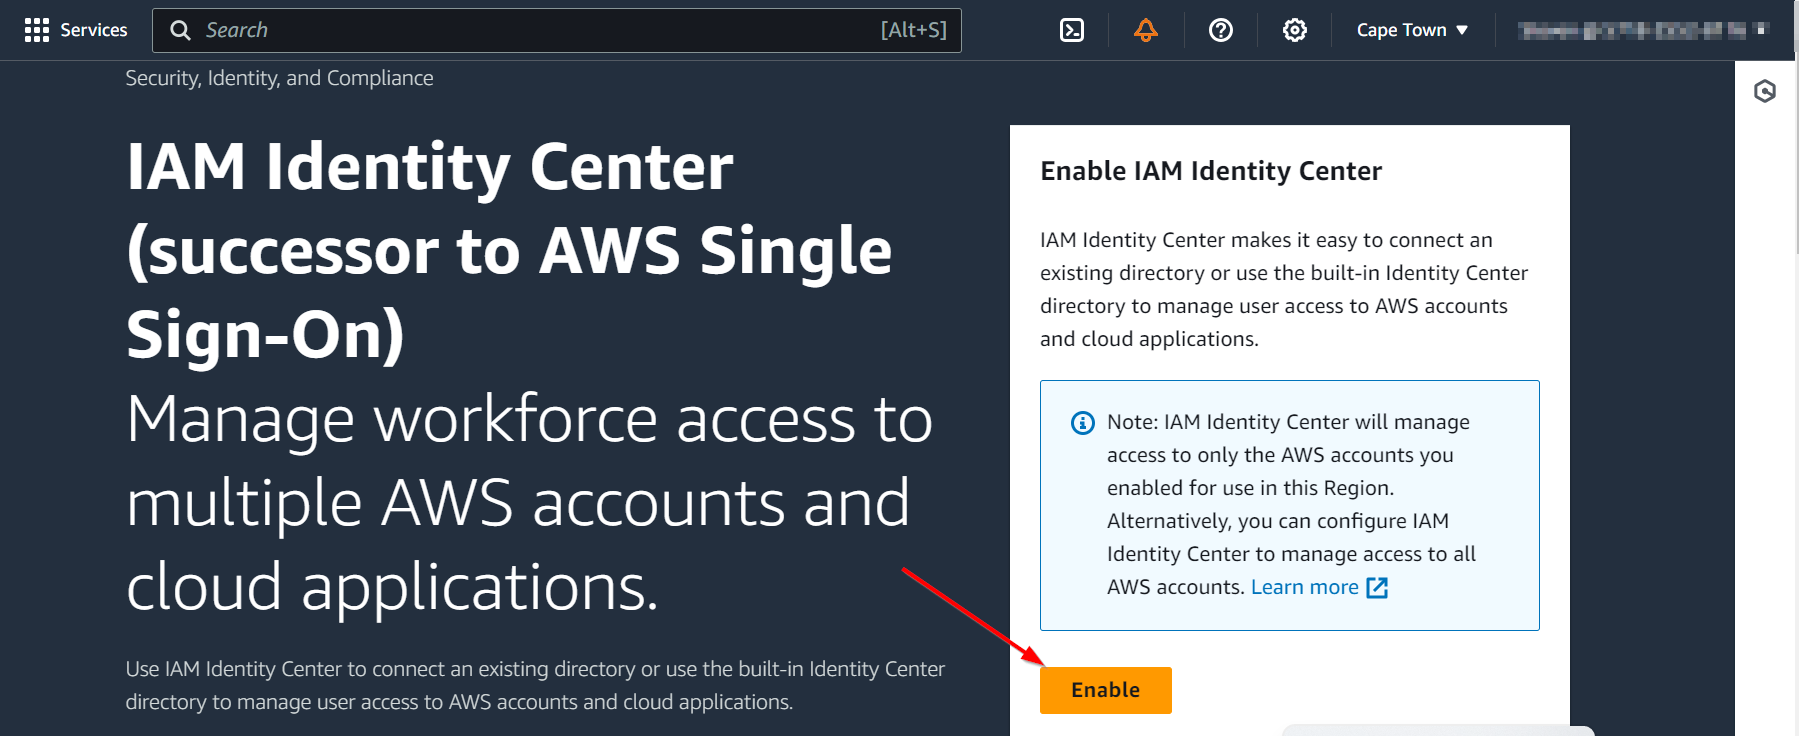
You will get a modal window like the one below click on Continue:
.png)
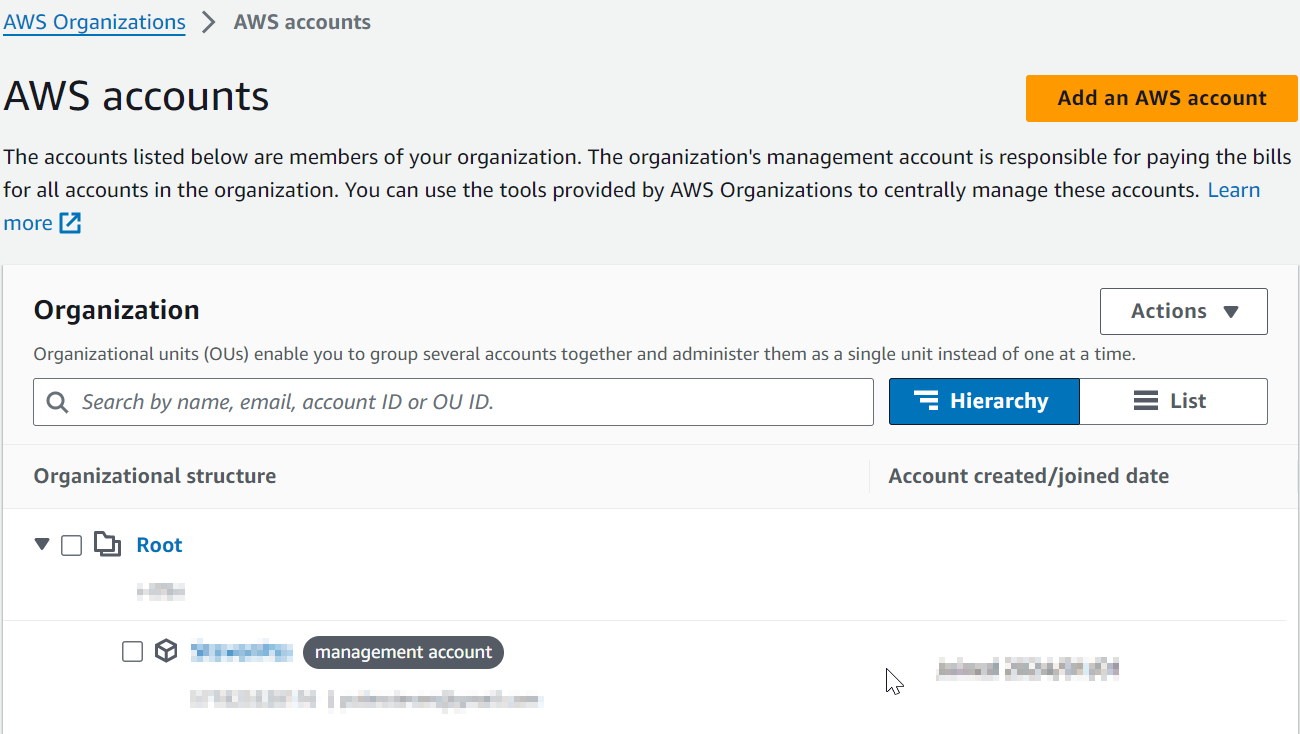
This will get you set up with AWS IAM Identity Center and also create an AWS Organization for you which you can confirm by searching for AWS Organizations:
Choose an Identity Center
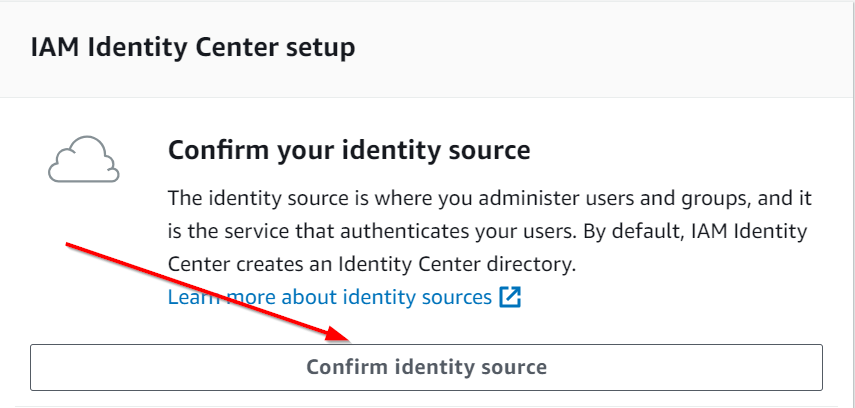
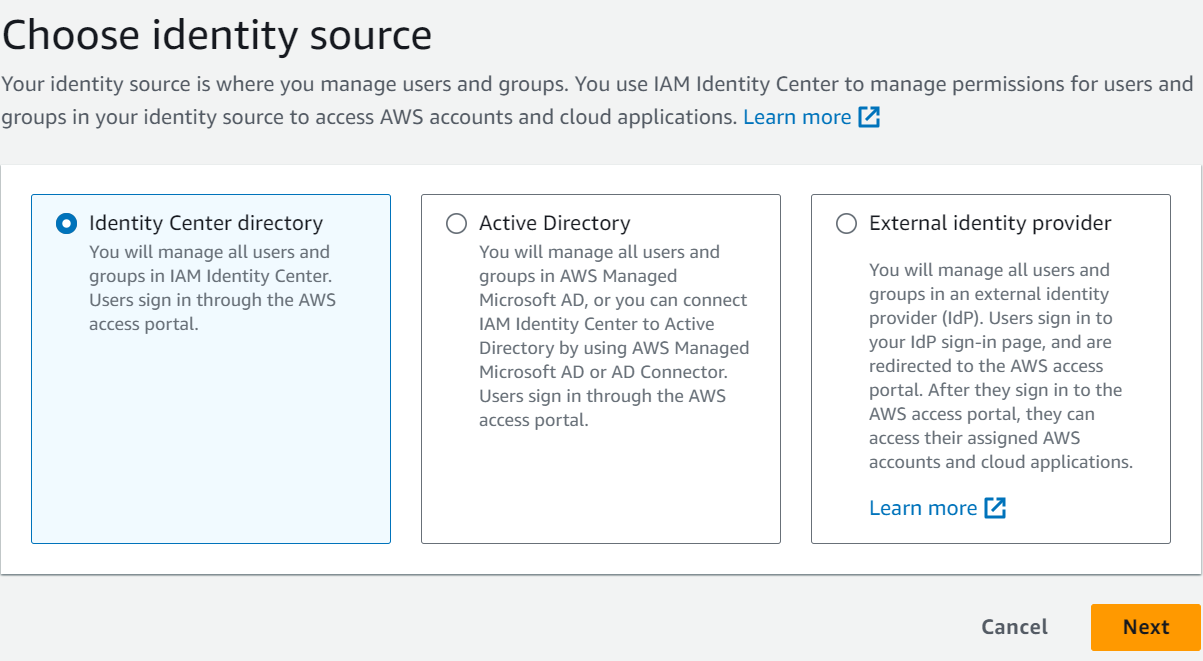
An Identity Source defines where your users and groups are managed. If you click on Confirm Identity Source:
After scrolling down a bit you will see this section:
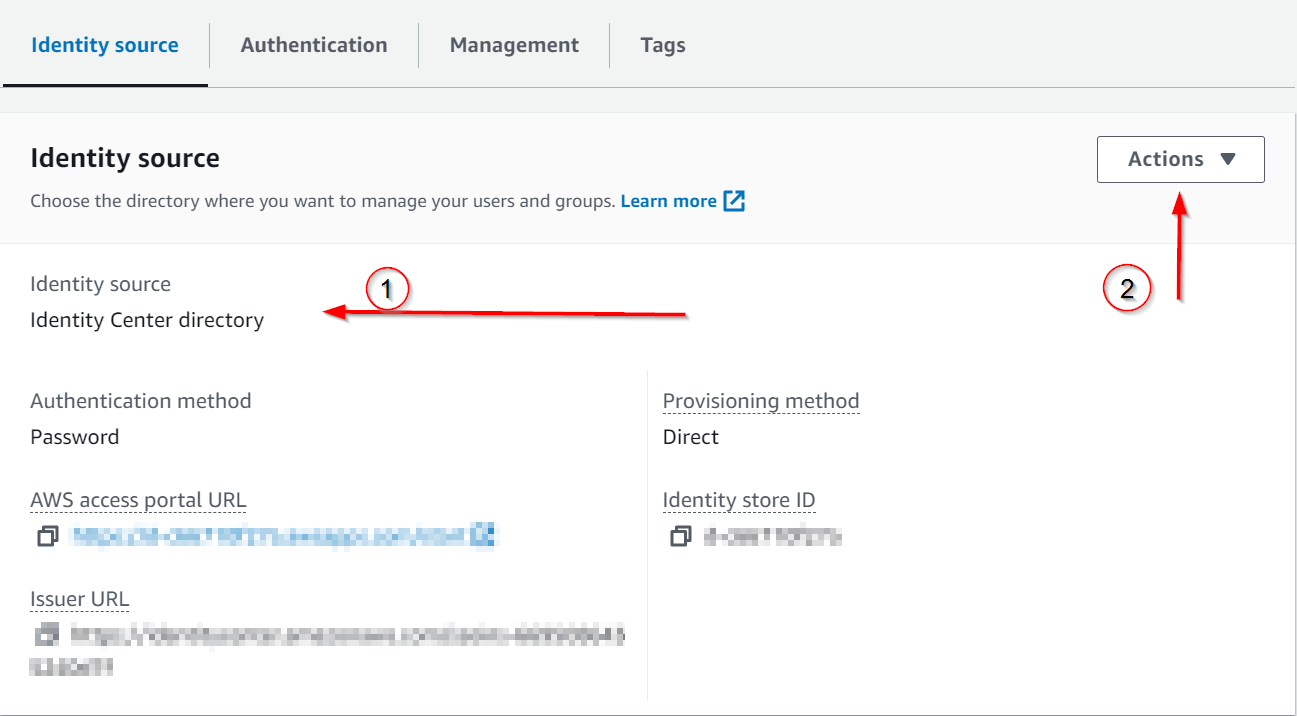
- By default, the source will be Identity Center Directory. This is where you would assign your users and groups as well as configure their level of access.
- You can change the default source by clicking on
Actionsand clicking onChange Identity Source.
You will then see the following page below, you can proceed to configure the source but in our case I will use the default source:
Create Users
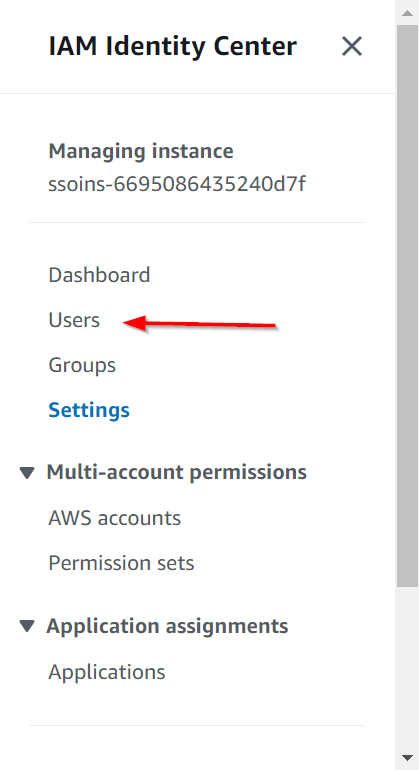
On the side navigation click on Users as seen on the image below. The users here are not the same users as the ones created in IAM.
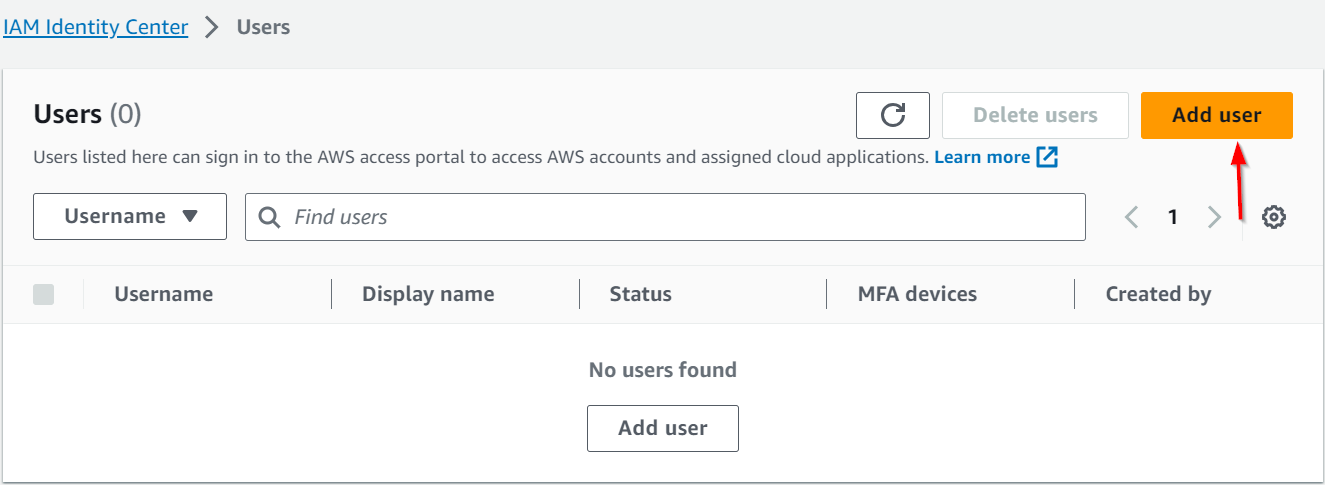
Click on Add user
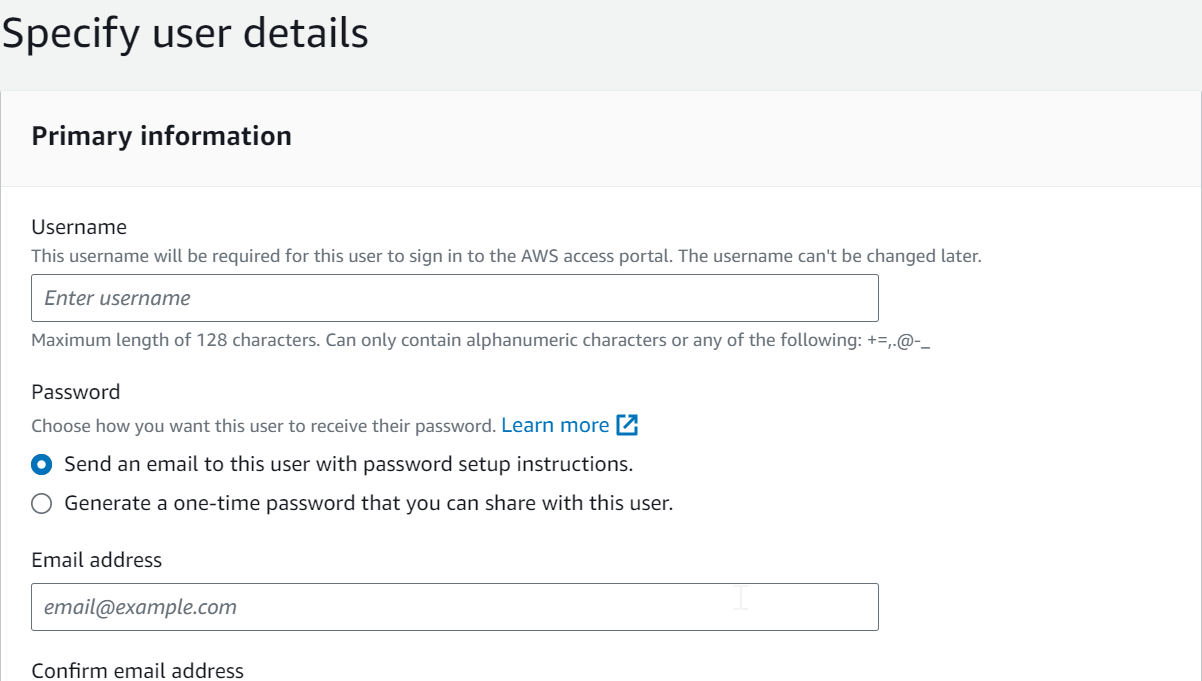
Specify user details
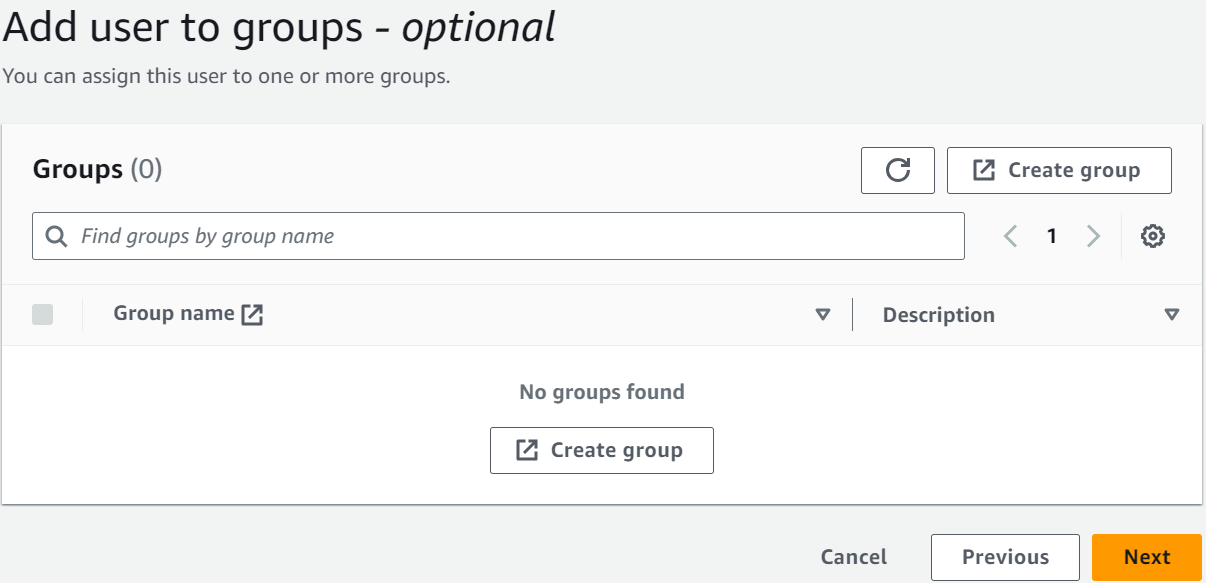
Add user to groups
We're going to skip this optional step for now.
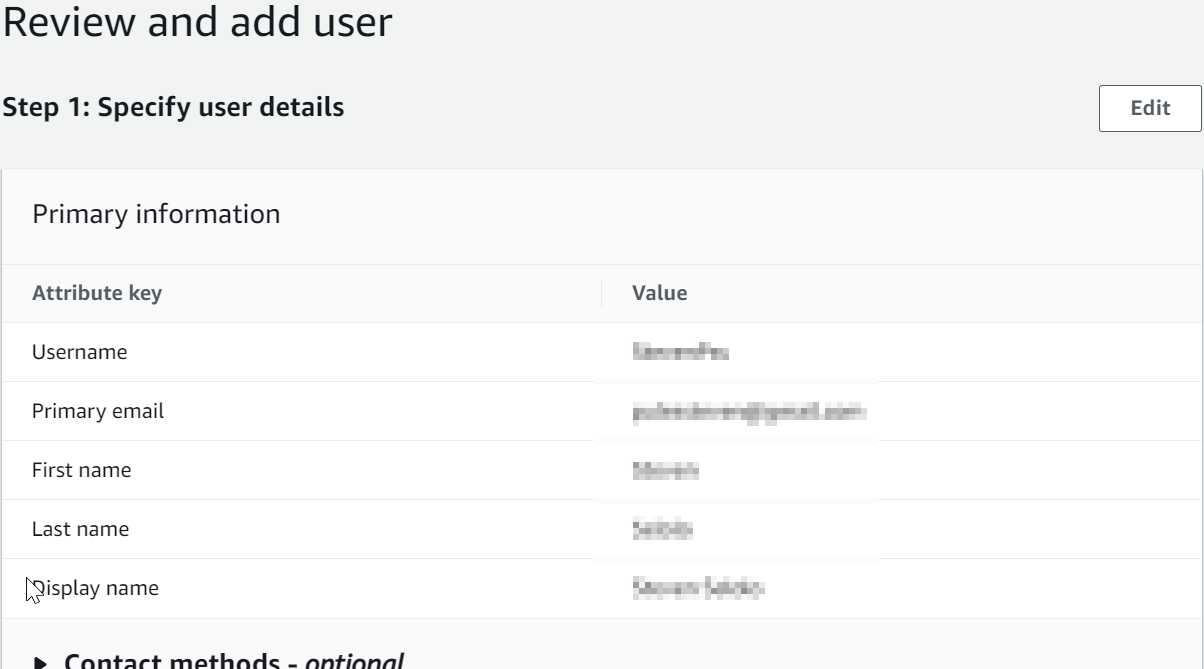
Review and add user
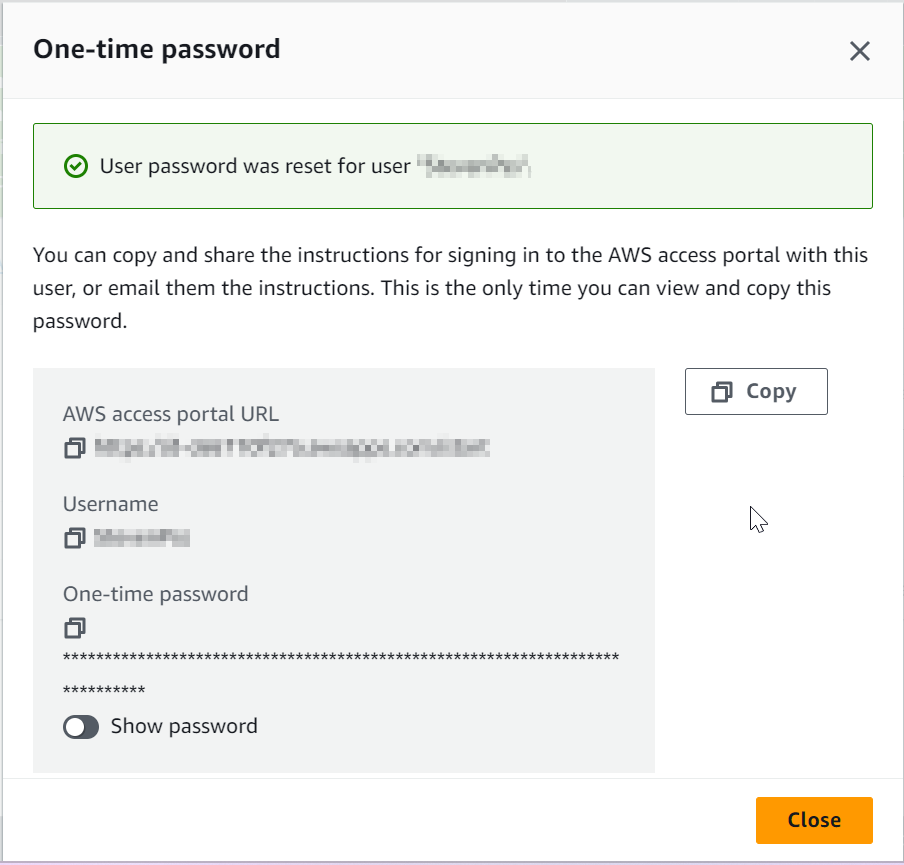
Scroll down a bit and click on Add user after reviewing. You will see a One-time password modal window appear:
Create an Admin Permission Set
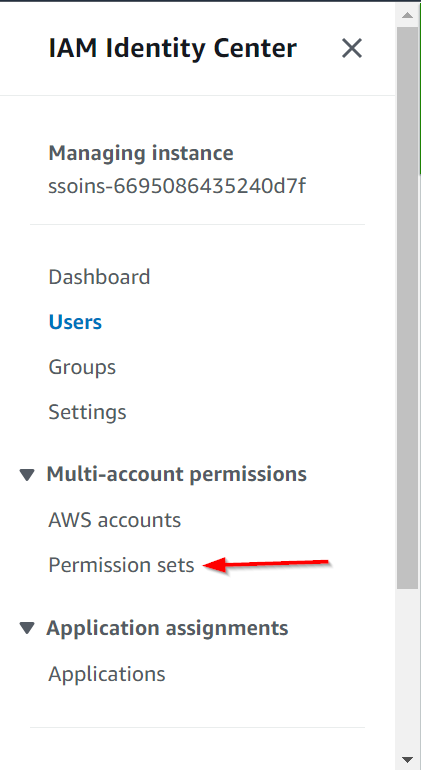
Permission sets consists of IAM roles that define the level of access that users and groups have within an AWS account. On the side navigation click on Permission sets and on the next page click on Create permission set
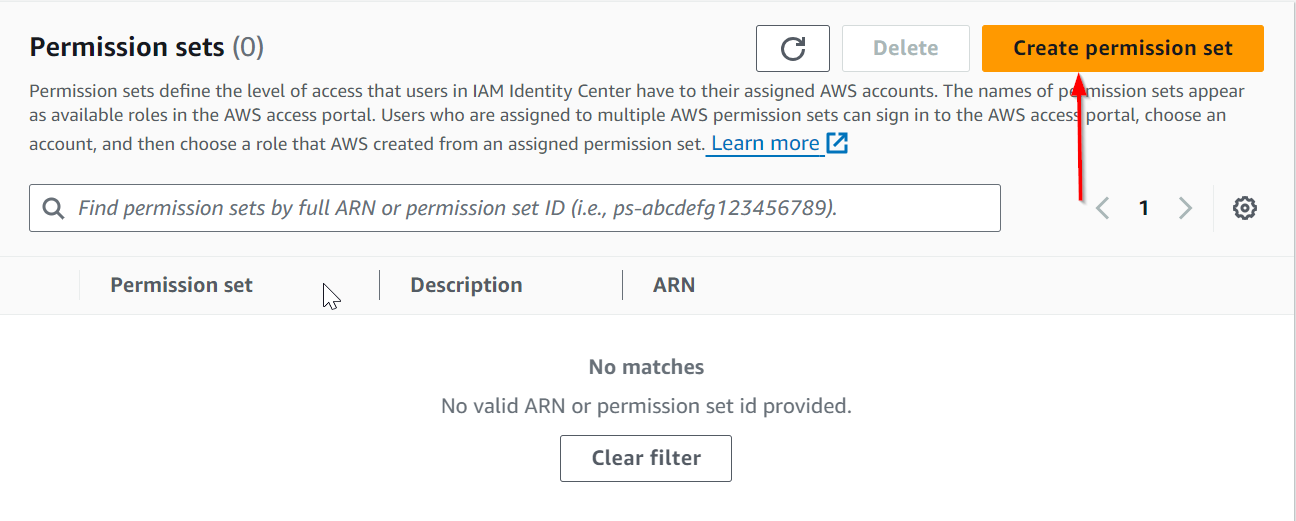
Select permission set type
We're going to go with the predefined permission set but feel free to try out the custom permission set.
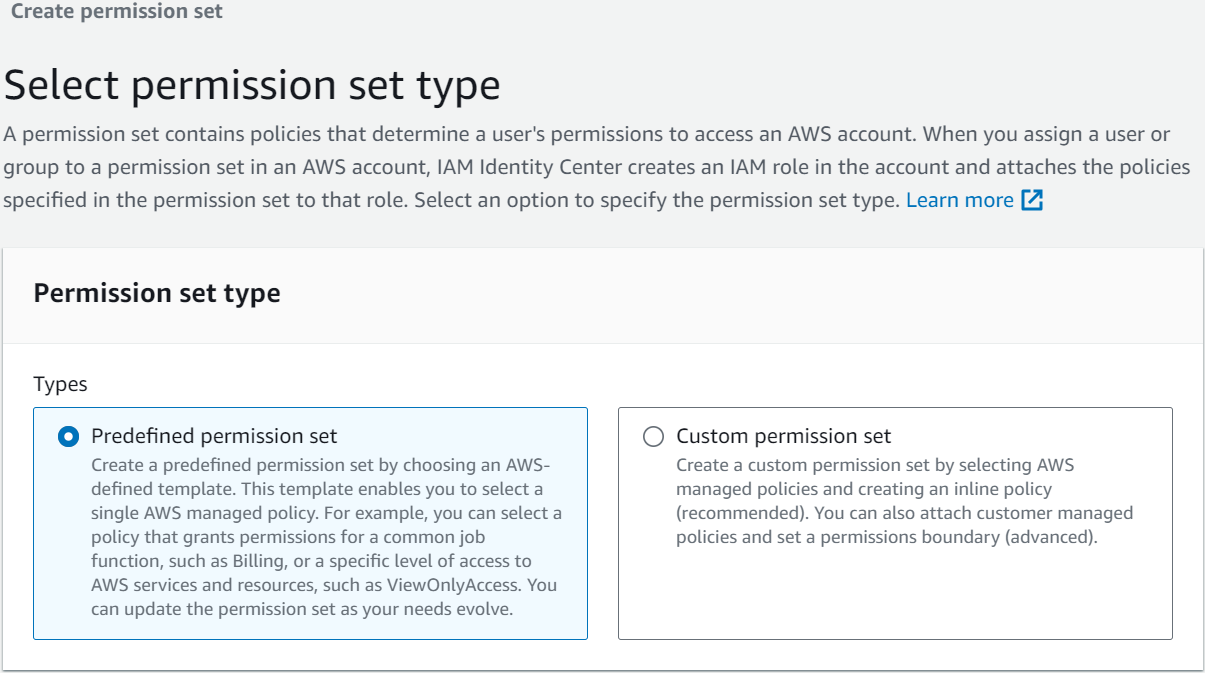
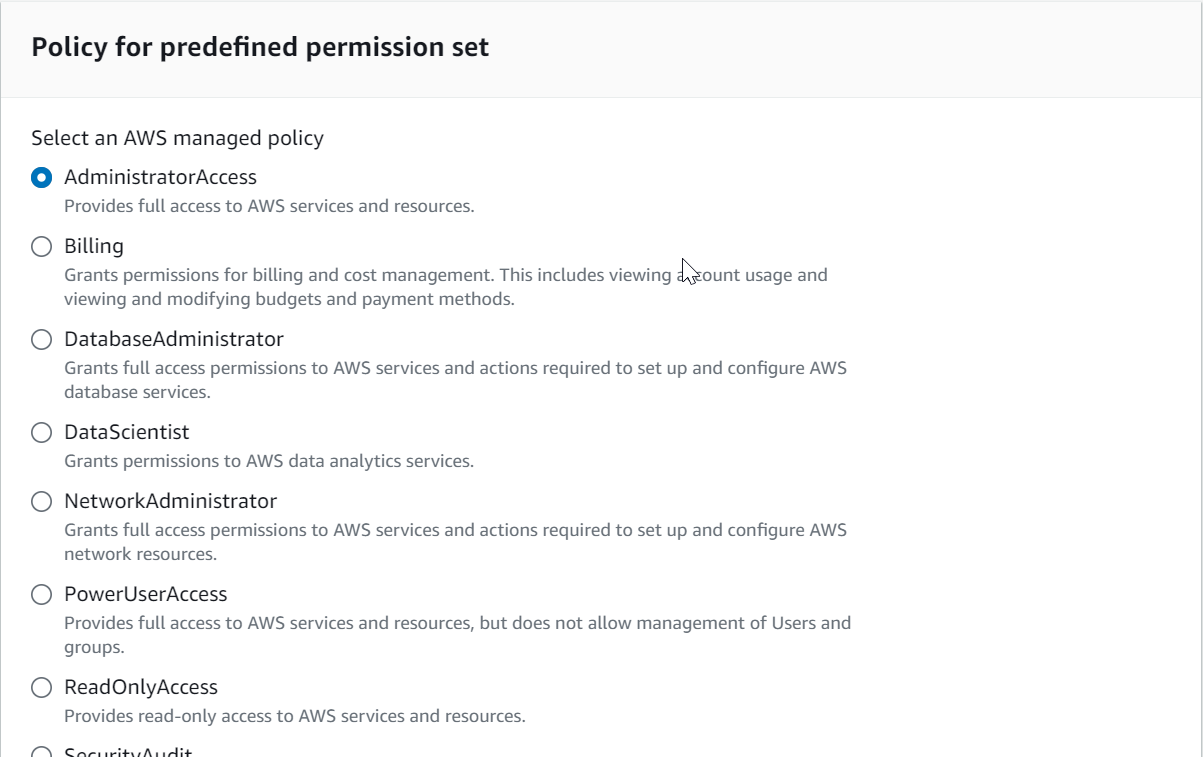
Scrolling down a bit you will see Policy for predefined permission set that consists of AWS managed policies to select from. You can select whatever policy you need set but we will go with AdministratorAccess for this one
Specify permission set details
By filling in the Permission set name, Description, Session duration which is the length of time a user can be logged on before the console logs them out of their session, and an optional Relay state.
Click Next.
Review and create
If you're done reviewing click on Create
Set Up Account Access for the Admin Identity Center User
- Click on
AWS accountsfrom the side navigation and - Click
Assign users or groups
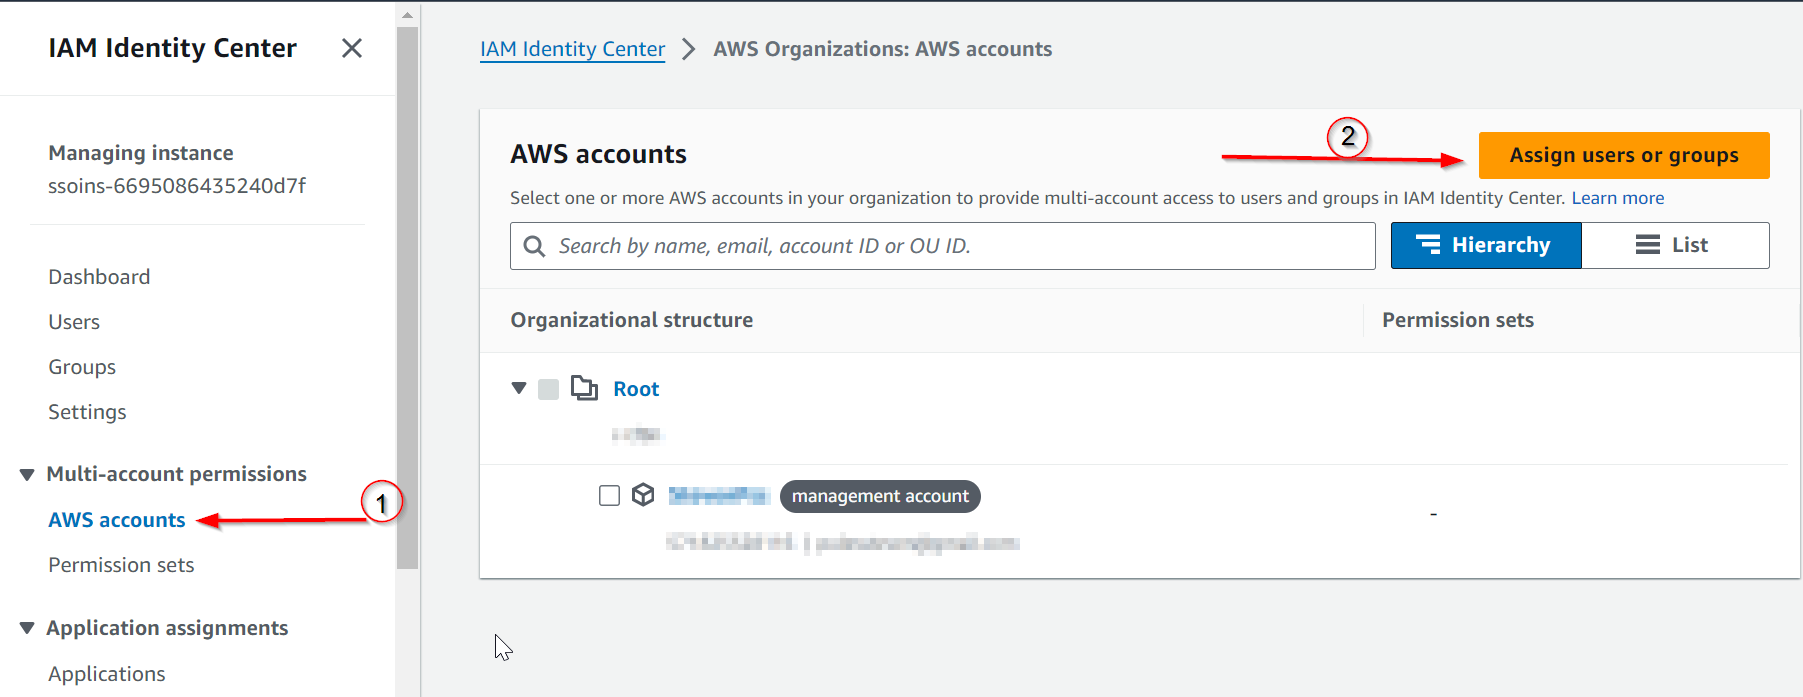
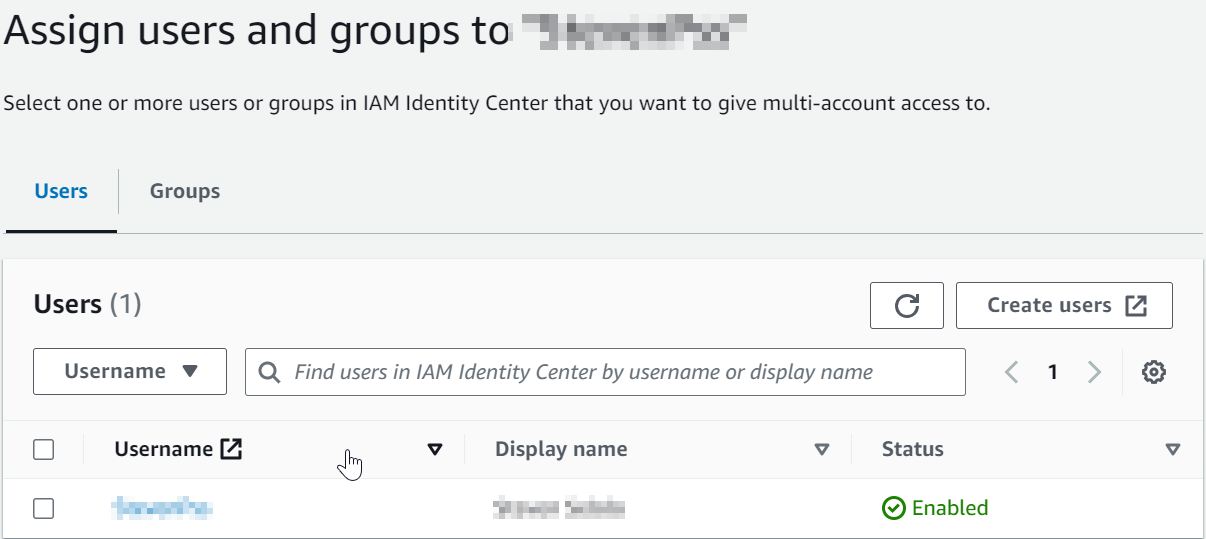
Assign users and groups to "Your Username"
- Select the Users tab and select your earlier created user. Click
Nextand Assign permission sets to that user. When done ClickNext. - Review and submit assignments by clicking on
Submit
Testing everything!
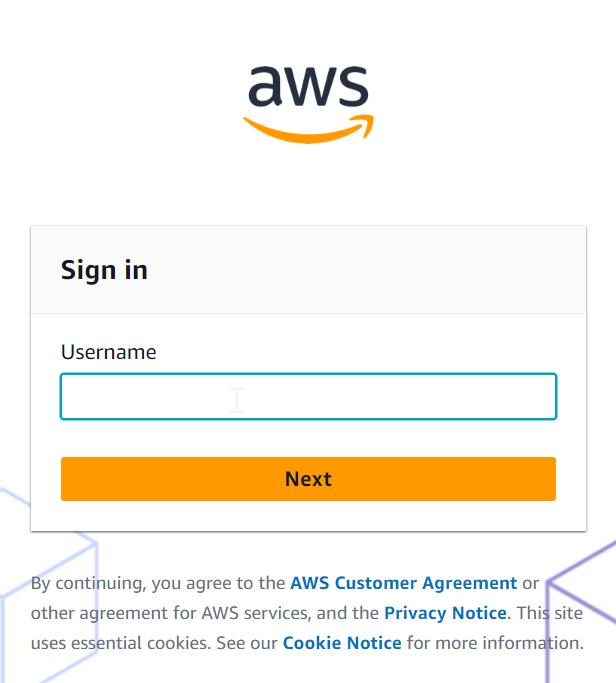
- Login using your AWS access portal URL - https://your-app-name.awsapps.com/start It will ask for your username and password. Make sure to enter the ones that you've copied earlier.
- You will then be required to set up MFA. Select
Authenticator appand set it up.
Finally, once everything has been set up and you've successfully managed to login you will see the following page:
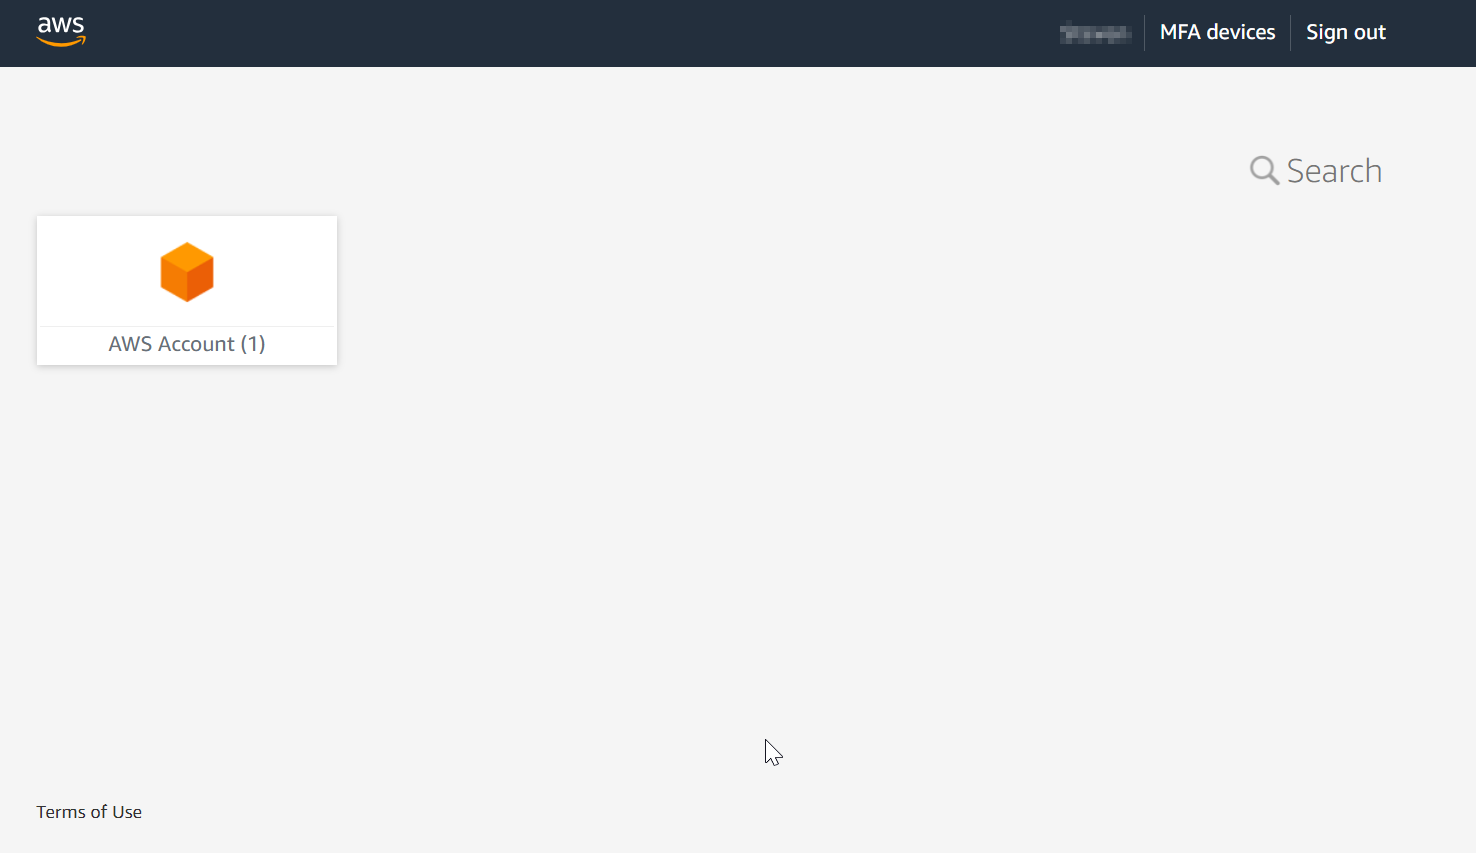
- The other cool benefit of this is that it allows you to use the recommended short-term credentials.
Congratulations for making it this far.